In the previous installment of How to build a small budget Download Machine , we covered how to build a Raspberry Pi 2 with all accessories needed to make it work. Now that you have all the equipment, the stage is set. What you need to do is load your Pi with an operating system that lets you manage your automated Usenet download software SABnzbd. Your operating system of choice is a custom Debian Linux installation called OS Raspbian
How to install the OS Raspbian
- Download the disk image. OS Raspbian here.
- Insert the microSD card into the Raspberry Pi card reader / writer.
- Follow the instructions found here to copy the image Raspbian OS disk to the microSD card using the host operating platform of your computer (Macintosh, Windows, Linux).
- After the transfer of the disk image to the microSD card is complete, insert the microSD card into the microSD slot of Pi. After all cables and equipment are attached (keyboard, mouse and wireless adapter -Fi) for the Hub USB, HDMI cable to watch) and microUSB power adapter is connected to your Pi, you are ready to power up the unit for setup.
Raspbian OS configuration for the first time
When starting Raspberry Pi 2 for the first time, Raspbian automatically detect and load drivers for the Pi material.
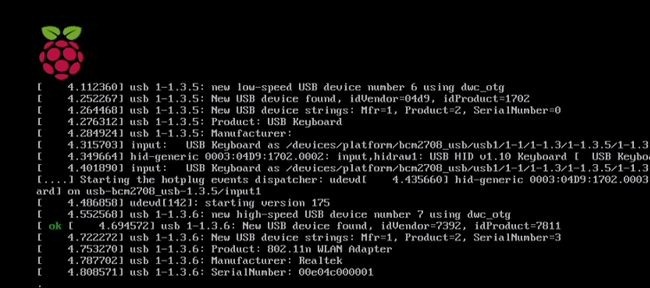
high Raspbian OS boots on Raspberry Pi 2 for the first time, detects the hardware and installs drivers to make it work.
Next, the load-config Raspbian so you can build your OS Raspbian first boot options.

After Pi Raspbian load the operating system, it will run the utility Raspbian-config so that you can configure the Raspbian OS options for the first start time.
Configuration Raspbian boot options
Although there are many options that can be configured to Raspbian OS, this tutorial will only focus on what is required for downloading the project going.
1. Develop Filesystem - Select this option and then choose "Yes" to develop Raspbian Filesystem, which allows the use of all available space on the microSD card of Pi. This is recommended to give more space for the operating system package installation, etc., if you choose to install additional features on the road.
2. Change User Password . - Select to update the password by default pre-programmed to your Pi This is recommended to keep the Raspberry Pi 2 safe and secure as the default password is easily available on the web.
3. Enable Boot to Desktop / Scratch - Select this option to update the default path Pi start-up. The Pi can be configured to start the graphical desktop, based on the text console Command Line , or the programming environment Scratch . For this project, starting from the text console to save system resources when running SABnzbd (do not worry, you can attack the command line terminal later)!
4. Enable remote access Secure Shell - Go to "Advanced Options", select "SSH" on the next screen and select "Yes" to activate. This will allow Shell secure remote access terminal so you can connect to your Pi from another computer on the same network without the need for it to be connected to a keyboard or monitor. As long as you are on and connected to Wi-Fi network, you're good to go! Now that all options are defined, select "Finish" in the main menu and Pi will restart.
In our next installment of How to build a budget Downloading Low Machine , you learn how to connect to the Pi remotely and log-in to configure devices storage for Usenet downloads. Go to part three: Configuring Remote Access
Not a user? Register unlimited UsenetServer for less than $ 1 a day!

0 Komentar